How to retouch your new growth at home

retouching new growth at home

Retouching your new growth at home needs to be done with care, proper care! Let me start of saying; if you don’t feel comfortable with relaxing your hair yourself, please go seek a professional.

I prefer to retouch my new growth every 15 – 20 weeks. The stretching period is based on how I feel and how I can manage my new growth.

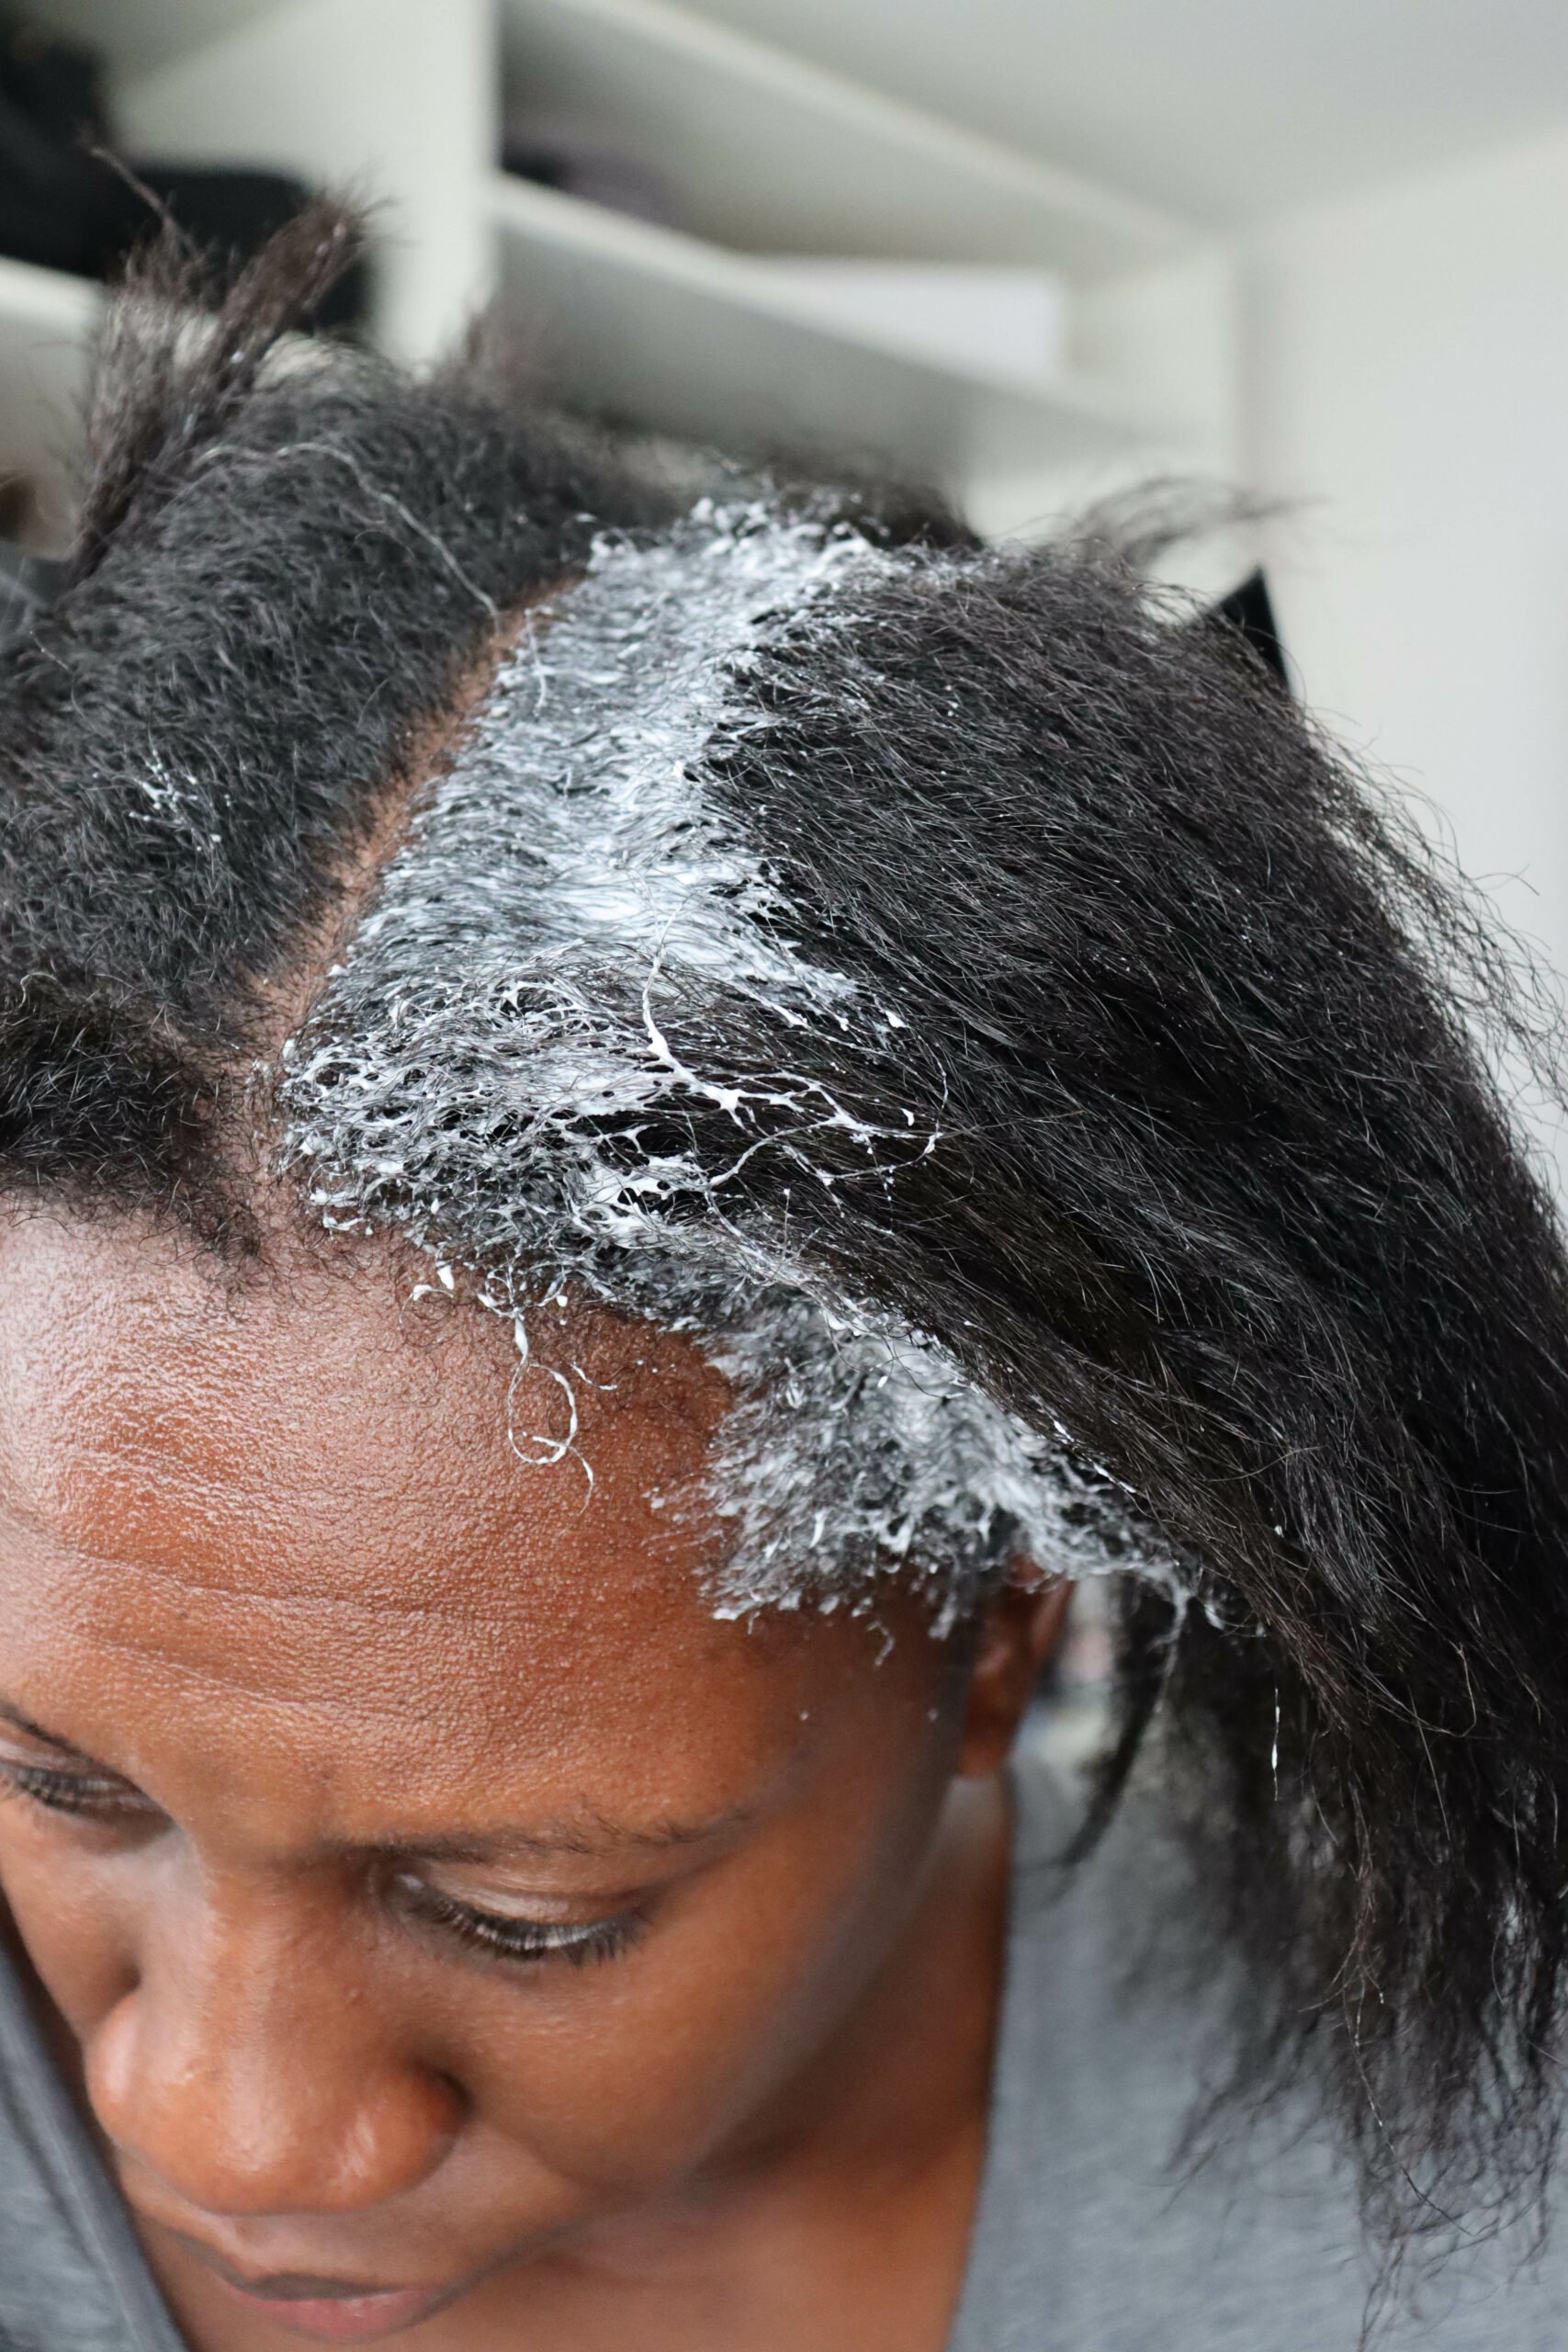
This is how the process looks like when you are relaxing your hair by yourself.

Continue Reading

July; retouching my new growth with ORS No-Lye Relaxer

It’s time for the creamy crack! I’m fighting with myself when I’m styling my hair. Being 20 weeks post relaxer is getting exhausting. With my next stretch I’m going back to 16 weeks of stretching. As always for retouching my new growth I used ORS No-Lye Relaxer.

Let’s start the process

I don’t like for my new growth to be bone straight, so I manipulate the relaxer by adding a product. This time around I used oils instead of a light conditioner. To be honest I was out of conditioner, that’s why I added oils to the mixture. I used 1 cup of Olive oil and 1 cup of Castor oil. I like this oils for my hair and they were in hands reach.

Take your time and really mix the oil and relaxer together. I needs to be one solid mixture. On my YouTube Channel I have a video on how to transform your ORS No-Lye Relaxer.

To protect the perimeter of my face & the previous relaxed hair I used Vaseline. To be honest I can’t remember if I based my scalp with Vaseline. I think not, because I was bit lazy, but I really needed to retouch my new growth.

The creamy crack

As I always I parted my hair in four sections and started at the back with applying the relaxer. When applying the relaxer I was a little bit heavy handed. I wanted to finish this process quick. Because I was so heavy handed I only applied the relaxer in one round.

To smooth out my new growth, I used my fingers and just massage the relaxer to my new growth.

Applying and smoothing out my new growth took about 20 minutes. Every time when I retouch I make sure I stick to 15  – 20 minutes, because I want some texture in my hair.

Retouching end results

So when it was time to wash out the relaxer I noticed my hair looking real sleek. First in my mind was “ow no I have done too much”. But when I was done shampooing my hair, I was a little bite hyped. My hair was so shiny & and soft. I really saw a difference in results when I compare adding a light conditioner vs an oil to the relaxer.

I love my texlaxed texture, but how the freshly relaxed part is feeling now, I really like it. Hmmm, I don’t what this is about, because I haven’t cared for the bone straight look in years.


Let’s see how this is going to play out.

Continue Reading

Retouching your new growth at 20 weeks post relaxer

I have been waiting for this day. My new growth was ready for a touch up. Stretching for 20 weeks was enough, because my new growth needed to be laid.


Step 1 | protect the scalp
When I was done with detangling my hair and sectioned it in four parts, I based my scalp with DAX Vegetable Oils Pomade for a protecting layer. When I was done with my scalp I applied Dax to the length of my hair.

“Never apply relaxer on the length that has already been relaxed”

Step 2 | applying the relaxer
Because I texlax (under process) my hair, I first make the relaxer mixture ready by adding a light conditioner. Adding the conditioner slows down the relaxing process. In small sections I added the relaxer to my new growth and smoothed it out with my fingers. I missed the sleek look, so I went a little overboard, used more mixture than normal, with applying the relaxer to my new growth.

Also this time around the process of applying the relaxer and smoothing out my new growth was about 20 to 25 minutes instead of 15 minutes.

Step 3 | washing
Before shampooing my hair, I make sure to get rid of all the relaxer. In this step I really take my time, because having relaxer still in your hair causes breakage. After rinsing out the relaxer I did a quick protein treatment, to rebuild the strength of my hair. I used ApHogee Keratin 2 Minute Reconstructor and left it on my hair for 15 minutes without heat.


When I was applying the conditioner to my hair I noticed that my left side had more breakage. I need to keep an eye on that, because it’s been like this for a while know.

“Rebuild the strength of your hair with a protein treatment”

After rinsing out the conditioner I shampooed my hair with ORS Olive Oil three times. Yes! I want to make sure that there are no traces of relaxer in my hair. After using a neutralizing shampoo 3 times, my hair could use some moisture. To bring back the moisture, I used tgin Moisture Rich Sulfate Free Shampoo.

After shampooing I wrapped my hair with a towel and let it sit for 15 minutes.

Step 4 | deep condition
For this step I used two conditioners ORS Olive Oil Replenishing Conditioner & TRESemmé Moisture Rich Conditioner together, because I didn’t had enough of the ORS conditioner. The pack that comes with the relaxer box is not enough for my hair. To give my hair some extra nutrients I added Olive oil & Almond oil to the conditioner.

In sections of four I applied the conditioner to my hair and sat under a hooded dryer for 20 minutes.

Step 5 | styling
After rinsing out the conditioner I went over to blow-drying my hair. I didn’t want to air-dry my hair, because I was going outside and the weather here in the Netherlands is a bit chilly.

To prep my hair I used CHI Keratin Mist & Mizani Moisture Milk Leave-in spray for some protein & moisture.

What a great feeling to easily comb my hair. My hair feels good and my new growth is lying flat.

I’m thinking with my next stretch to go for 16 weeks instead of 20 weeks, because my hair grows in a healthy rate.

Last relaxer: 3rd October 2020
Fresh relaxer: 20th February 2021
Next relaxer: 10th July 2021

Continue Reading
1 2 3 5